Preparing for a shoot
As a YouTuber, I am usually a one woman show. I have to play the producer, creative director, actress, makeup artist, editor, and marketer for every piece of content I create. Once I started blogging, I no longer could do it alone. To be in the photo meant someone had to be behind the camera. As a full time content creator, finding the right people to work with has been the best investment in terms of quality and growth.
Note that most photographers and videographers that I work with on my content typically want to be paid on the spot. I also never have any time to deal with the account logistics of writing a check, recording it, etc. I almost always use Square Cash to pay my creative help. I love that I can transfer the money instantly from my phone without any fees. It’s like having real cash except it’s easier (and what millennial carries cash anymore). It is the only app to offer instant deposits, $cashtags for organizing your expenses, and neglects the silly social sharing feature that lets people know your business. They even offer a Virtual Card for free to all users that you can use to buy things online straight from you Cash account.
As a content creator, I love it. I know that my videographers and photographers love it too. I’m sure you will too so I included referral links at the bottom of the post.
My Equipment

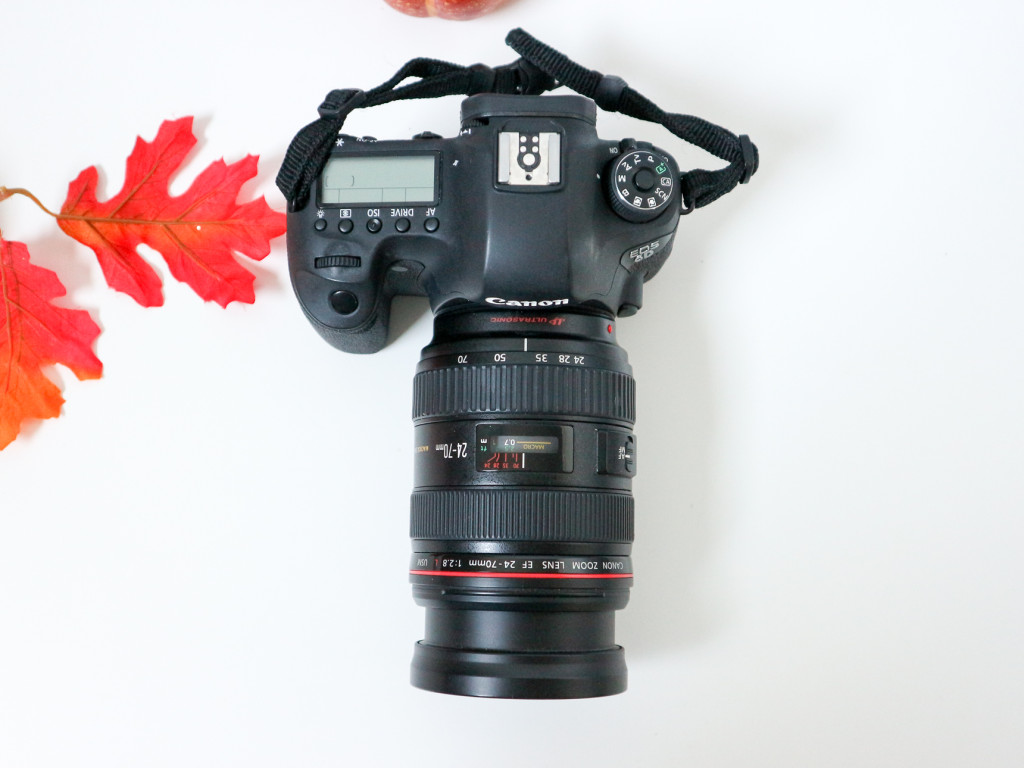
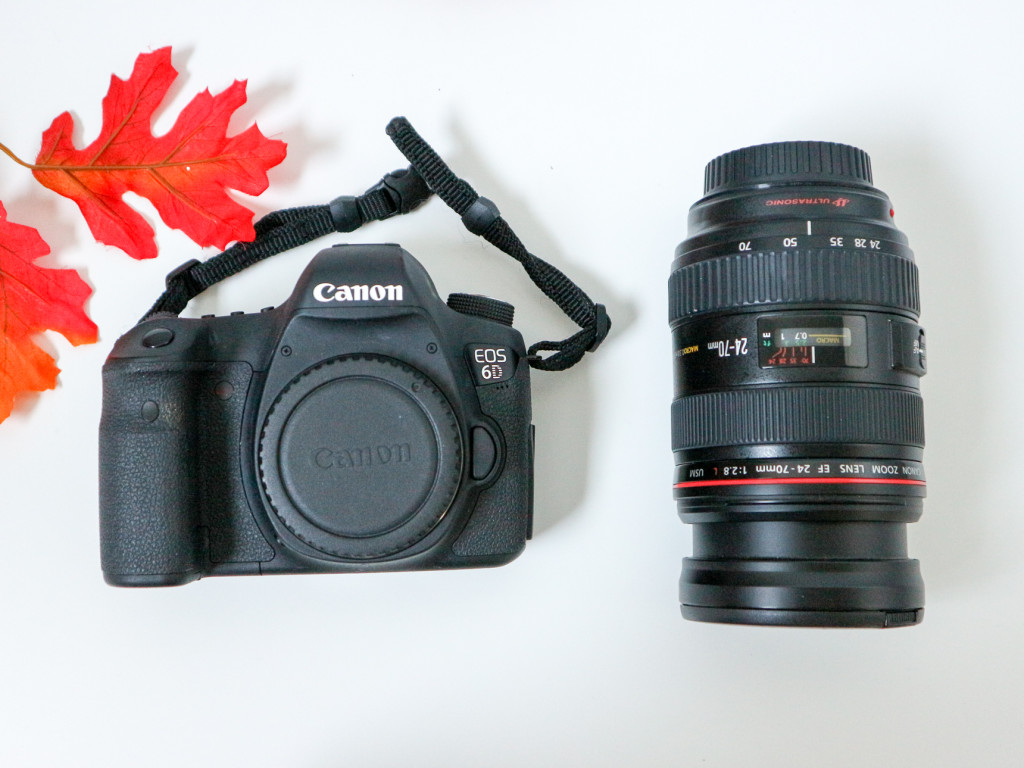
Camera: Canon 6D || Lens: Canon 24-70 mm
I could talk about my equipment all day because it is all so interesting, but I will just give you a quick rundown of what you can use to get started. I upgraded recently to a Canon 6D because it can capture high quality images thanks to the larger and better built sensors. It also has larger aperture lenses that improve low-light performance and image detail. I use this if I am looking quality with the most time, energy and effort into the shoot.
The Canon 6D does not have a flip out screen so when I do have to shoot alone, I use the Remote Shooting app on my laptop to focus myself and press record. This is a very messy set up but essential for other Youtubers that are thinking about shooting without someone on the other side of the camera.
Whenever I am out and just simply vlogging, I go with my Canon Rebel T3i. This camera is perfect to use to vlog because it has a flip out screen and is durable, lightweight, yet still maintains a certain level of quality that my audience demands.
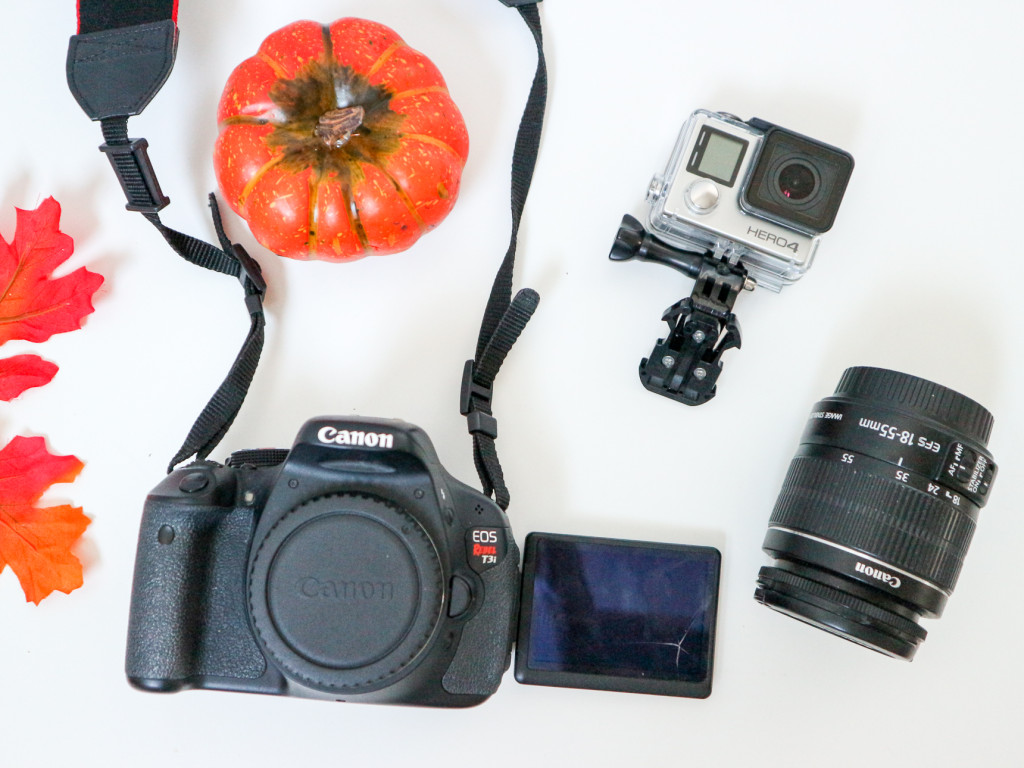
If I am traveling, underwater, etc. then I always take my GoPro Hero 4 Silver. Obviously GoPro is known for their durability, waterproof casing, and necessity for extreme occasions. Paired with a selfie stick, the GoPro is actually able to capture a great bit of pixels. It is sometimes tough to choose between my GoPro and my Canon Rebel t3i if I am looking to blog. The only plus to going with the GoPro is that I never have to worry about it breaking if I am doing anything with action in my vlog.
When it comes to the lens, I have two that I alternate between.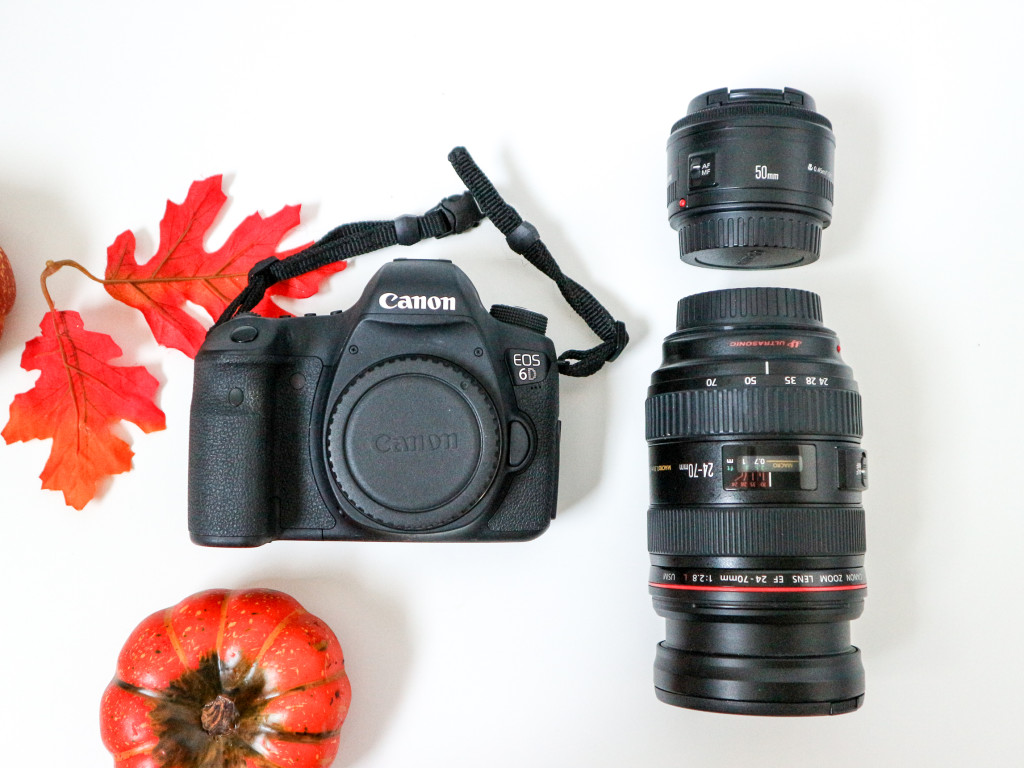
My Canon 24-70mm lens is a zoom lens that every videographer told me was a staple to use in getting started but boy! This thing is HEAVY. You can capture a very wide angle shot if you are looking to shoot the environment more. You can also get the details of your outfit or subject, as well. It’s perfect for versatility if you have no idea what you are about to go out and capture on a sunny day.
My Canon 50 mm lens is perfect for portrait shots. I find that it is nearly impossible to shoot a video with a 50mm because my smaller than normal living spaces don’t allocate the space and distance needed between me and the tripod, therefore I resort to my 24-70mm for filming when I don’t have hired help. I use this for most #OOTD shoots on my blog. I think that this is the fashion blogger must-have because once you master the “angles” that every fashion blogger uses to capture the outfit then this is a quick and easy solution to getting that resolution you need to show off your look.
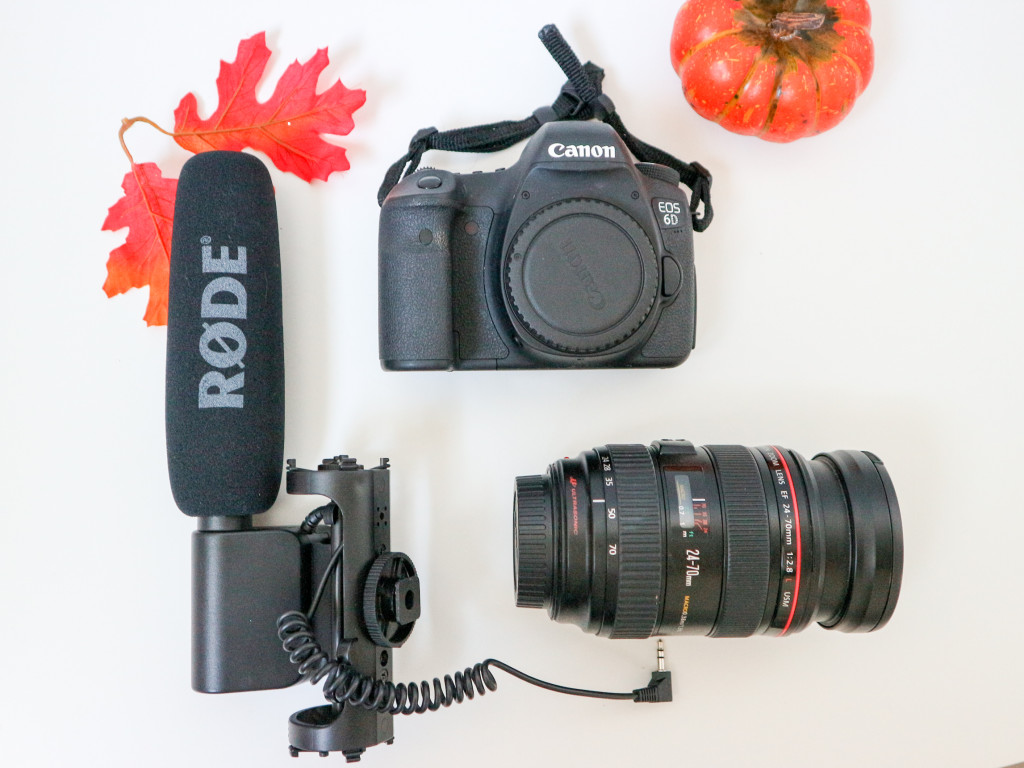
Microphone: Rode Mic || Lens: 24-70mm || Camera: Canon 6D
You have to have a good microphone for voice-over and anything else critical to capturing a scene in the environment. I highly recommend the Rode Mic to anyone who is looking to start out. This is a great beginner mic and can pick up noise from about a foot’s radius. Remember to turn off the ceiling fan and air conditioning. People will forgive sub-par video, but not bad audio. Choose a place where there is no ambient noise as a pro-tip.
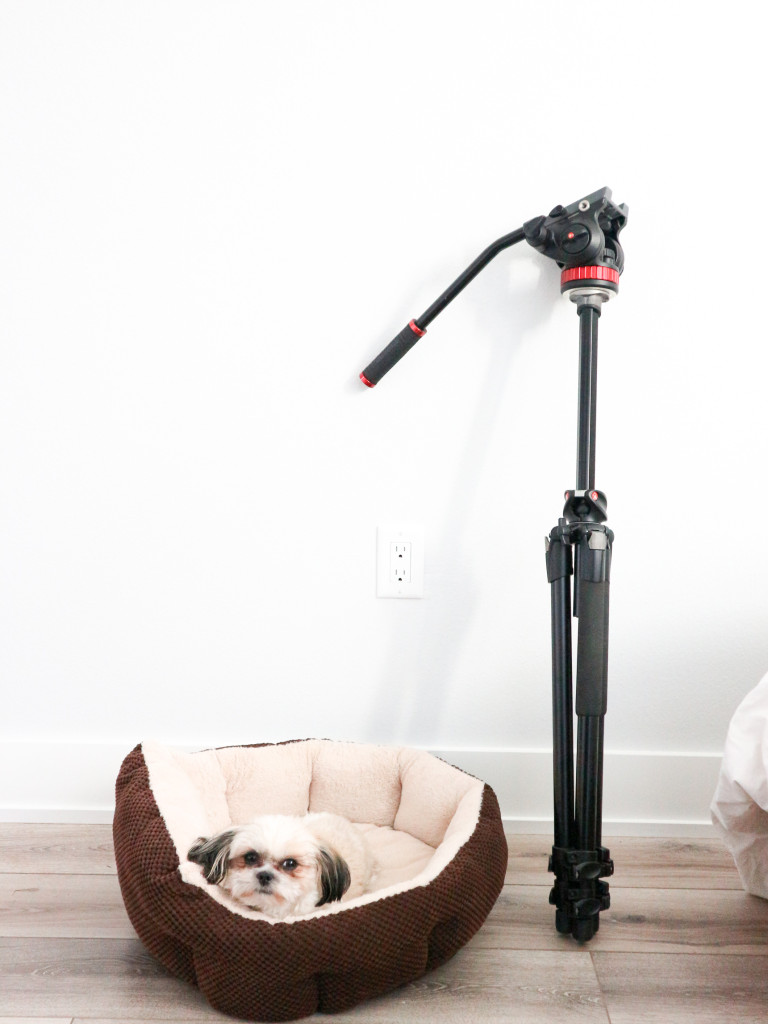
Tripod: Manfrotto
My tripod is my boo. I take him everywhere and he is there for me when I am alone. I use a Manfrotto MVH502AH head with Manfrotto MT055XPRO3 legs. I bought this used off of Craigslist. This is perfect for me because of the size, stability, and smooth spanning it offers.
As for lighting, natural light is always ideal. I also have a NOVA Diva Ring light kit I found on Amazon a couple years ago. The round beauty light is ideal for makeup tutorials and videos where I sit in front of the camera.
Post Production 
I once used the Adobe Suite for everything, that included Adobe Premier for video editing. However, I think I was a bit late on the Final Cut Pro train because it seems to be the industry standard when it comes to YouTubers. The reason that I love that I switched over is because there are a ton of transitions, text animations, and overlays that you can buy off the shelf for Final Cut Pro that make capturing those crazy intros that YouTubers love simple. Yes, I did try to create those for myself in Adobe Premier for many years. Unfortunately, they never were great. Now I am just able to find the transition effects that I like, purchase them from a site, and integrate them immediately into my video. Needless to say, once I learned this my intros got A LOT better.
Thank you so much Square Cash for sponsoring this post! All opinions are my own.